projectAnvil

Oh God, why rail?
Well, like most people who are blacksmith-curious, I eventually ended up browsing iforgeiron late at night. I was browsing through peoples' forge setups looking for inspiration and admiring all the beautiful anvils that I knew I would never find near me. I did notice the warnings against rail anvils; however, there is an abundance of rail track here, and it felt somewhat fitting as we are a historic rail town. Eventually I stumbled across this post by Charles Stevens which shows a method of using the rail more like a post anvil, with most of the mass directly below the hammer. This seemed like a good enough idea I figured I would shamelessly copy it for mine. So I caught a local rail worker doing their grocery shopping to ask about purchasing some track offcuts, but they were kind enough to drop off several sections of nice heavy gauge track at my place for free!
The Plan

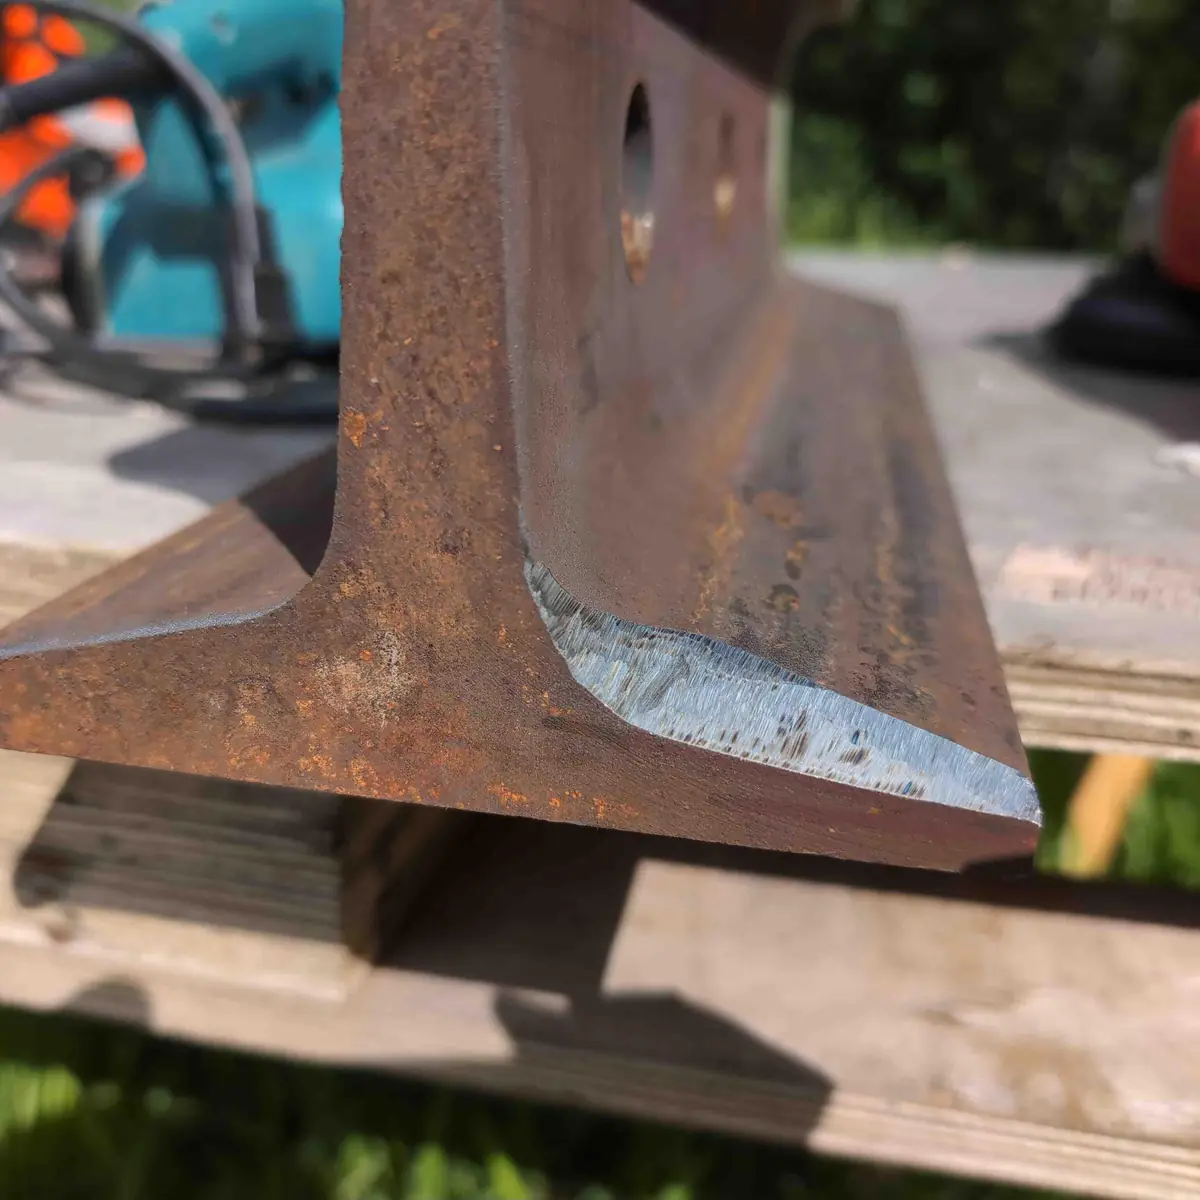
I have an angle grinder and a belt sander at my disposal. The bit of track the wheels ride on is typically hardened, so that will form the main striking face. The rest isn't hardened so will act as utility surfaces. I'll round over the webbing section to act as a fuller of varying radii. On the foot I'll grind a hot cut on one side and a bick on the other.
Flattening
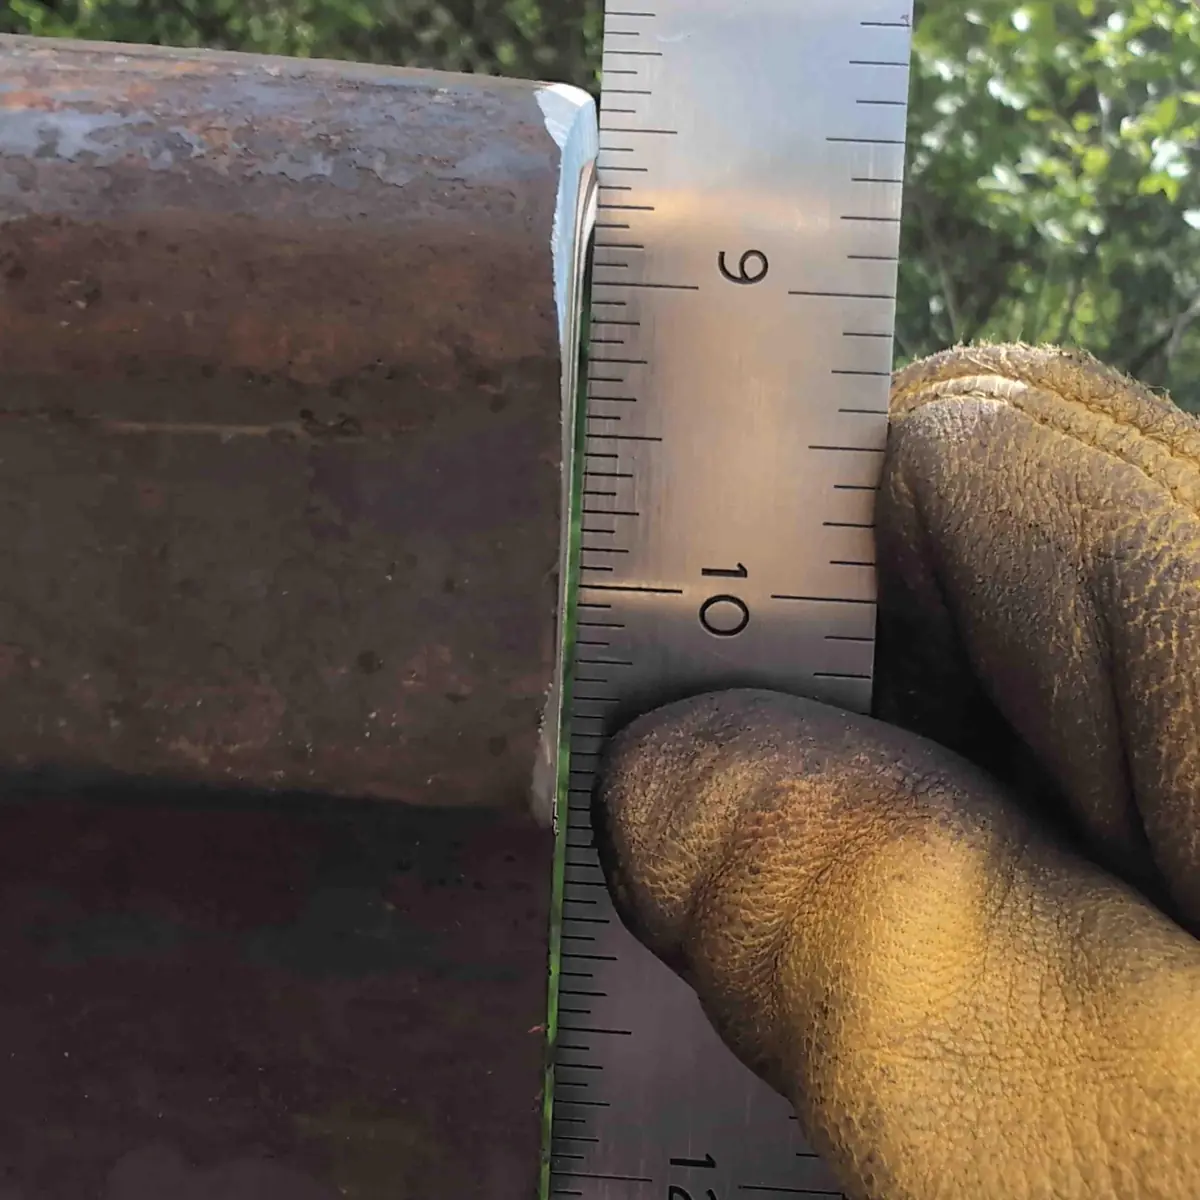
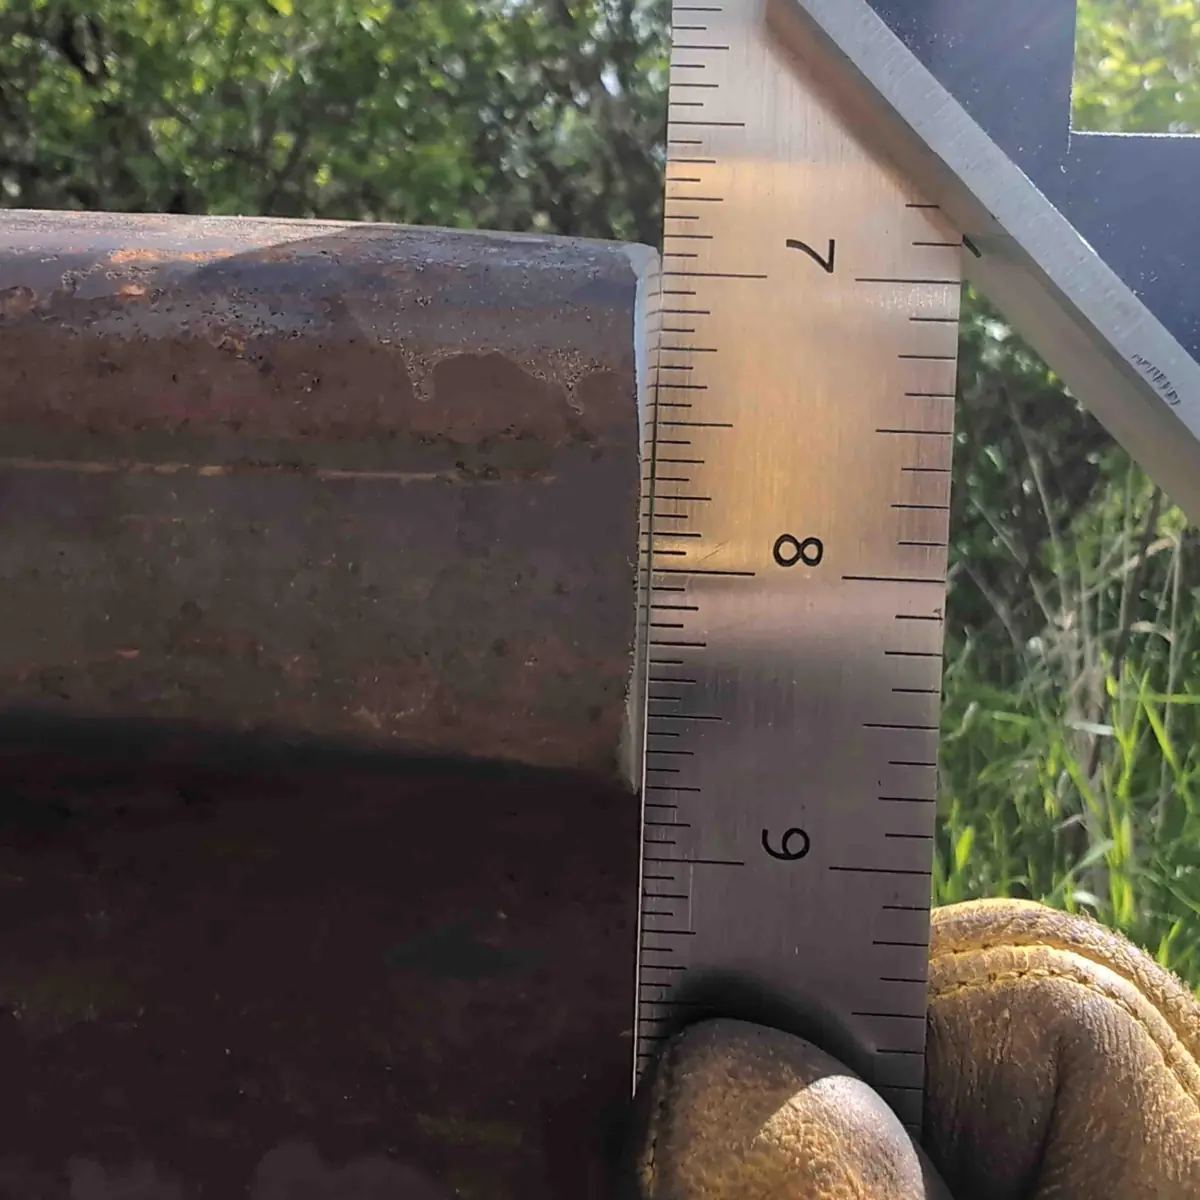
Although one end of this piece of track is already quite close to square, it could still use a bit of fine tuning. I spent a good bit of time going at it with a 40-grit belt on the sander until I was satisfied that it was not just good, but good enough.
Dressing the Anvil
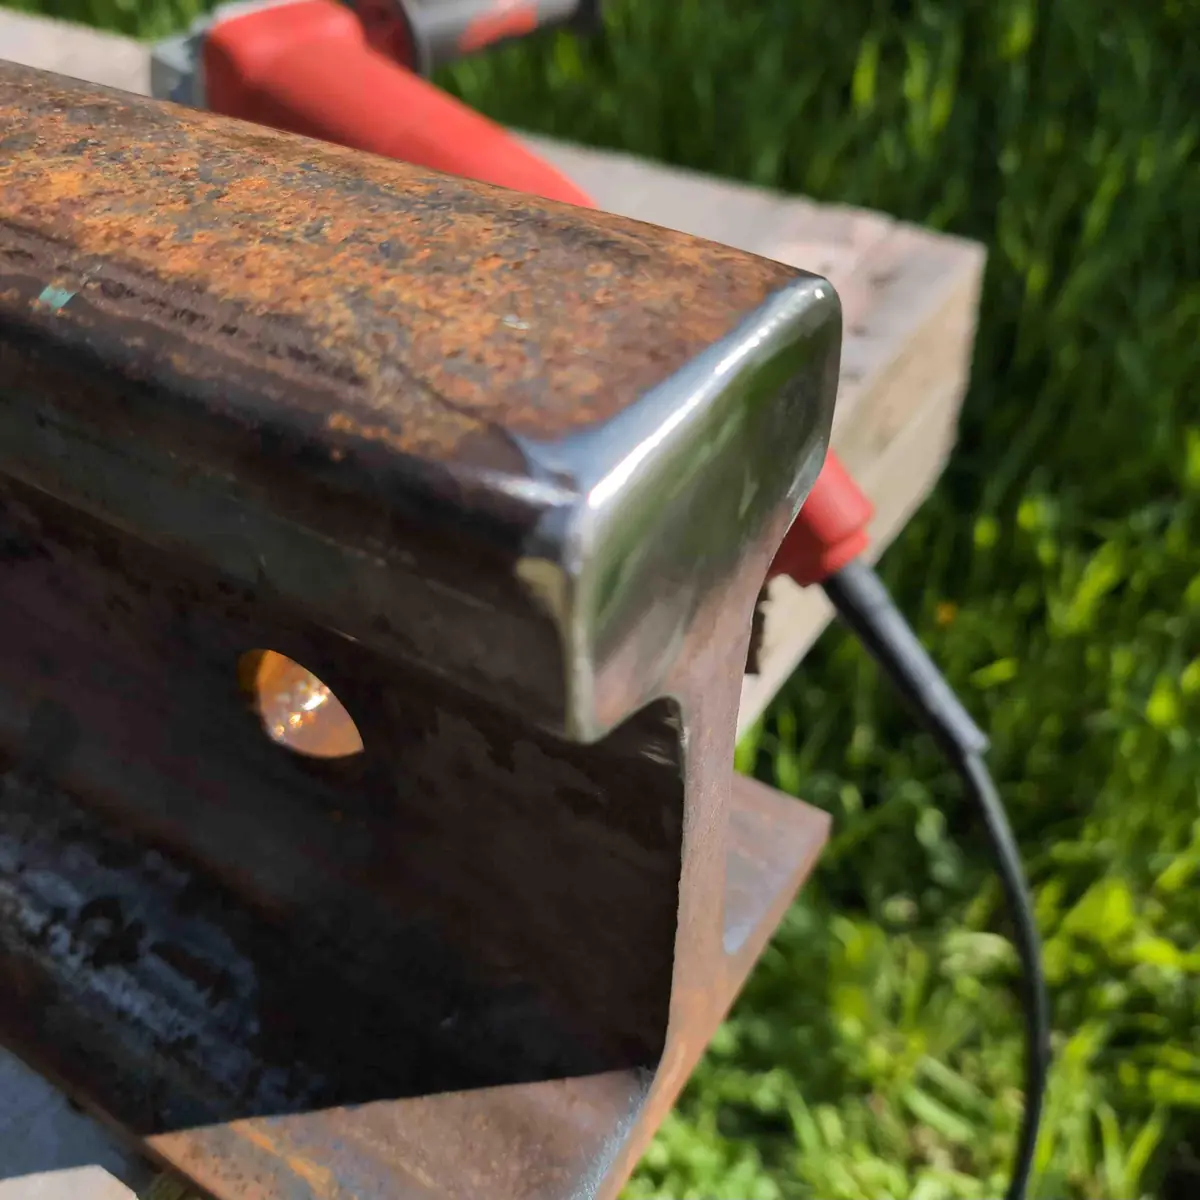
My research tells me you don't want sharp edges on your anvil. Simple enough! Couple licks with the angle grinder using a grinding disc to start, followed up by a flap disc to smooth out the radii. I attempted to put a slightly different radius on different edges of the striking face. Its so small already I'm not sure how noticeable the difference will be. I also polished the face a bit with a stripping disc to remove some of the sanding scratches. At the end of the day though, this is a learning anvil anyways and will get dinged up with use.
Utility Surfaces
I marked out a rough center line on the foot of the track, then ground up to the mark using a grinding disc on the angle grinder. Once the first bevel was done, I ground the other bevel to meet at the center mark. Hindsight 20/20 I will probably re-grind this to a more acute angle in the future.
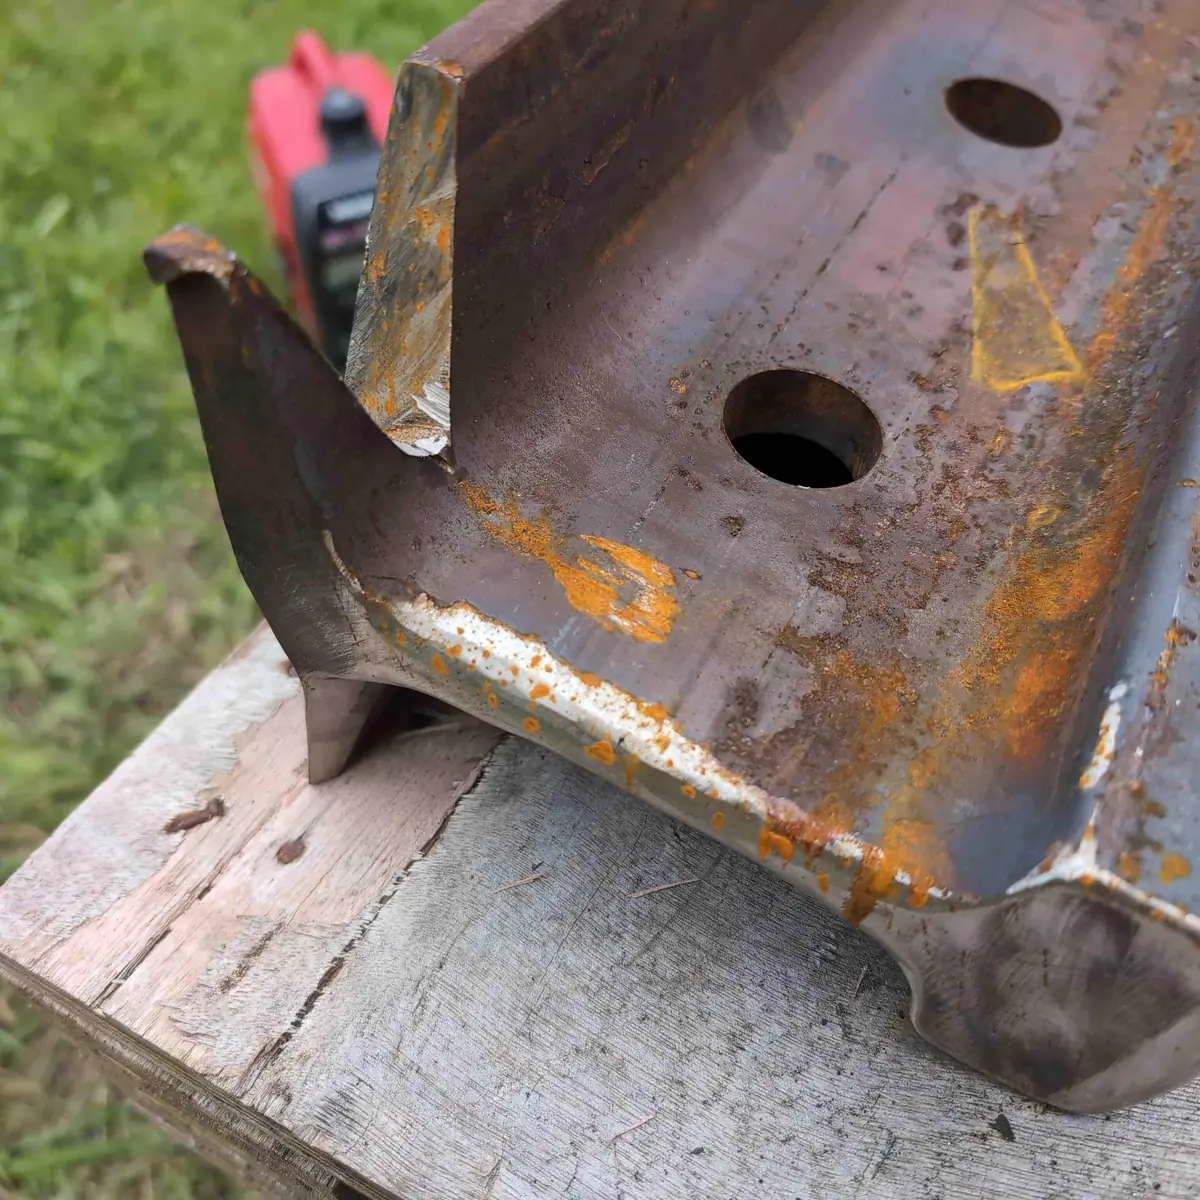
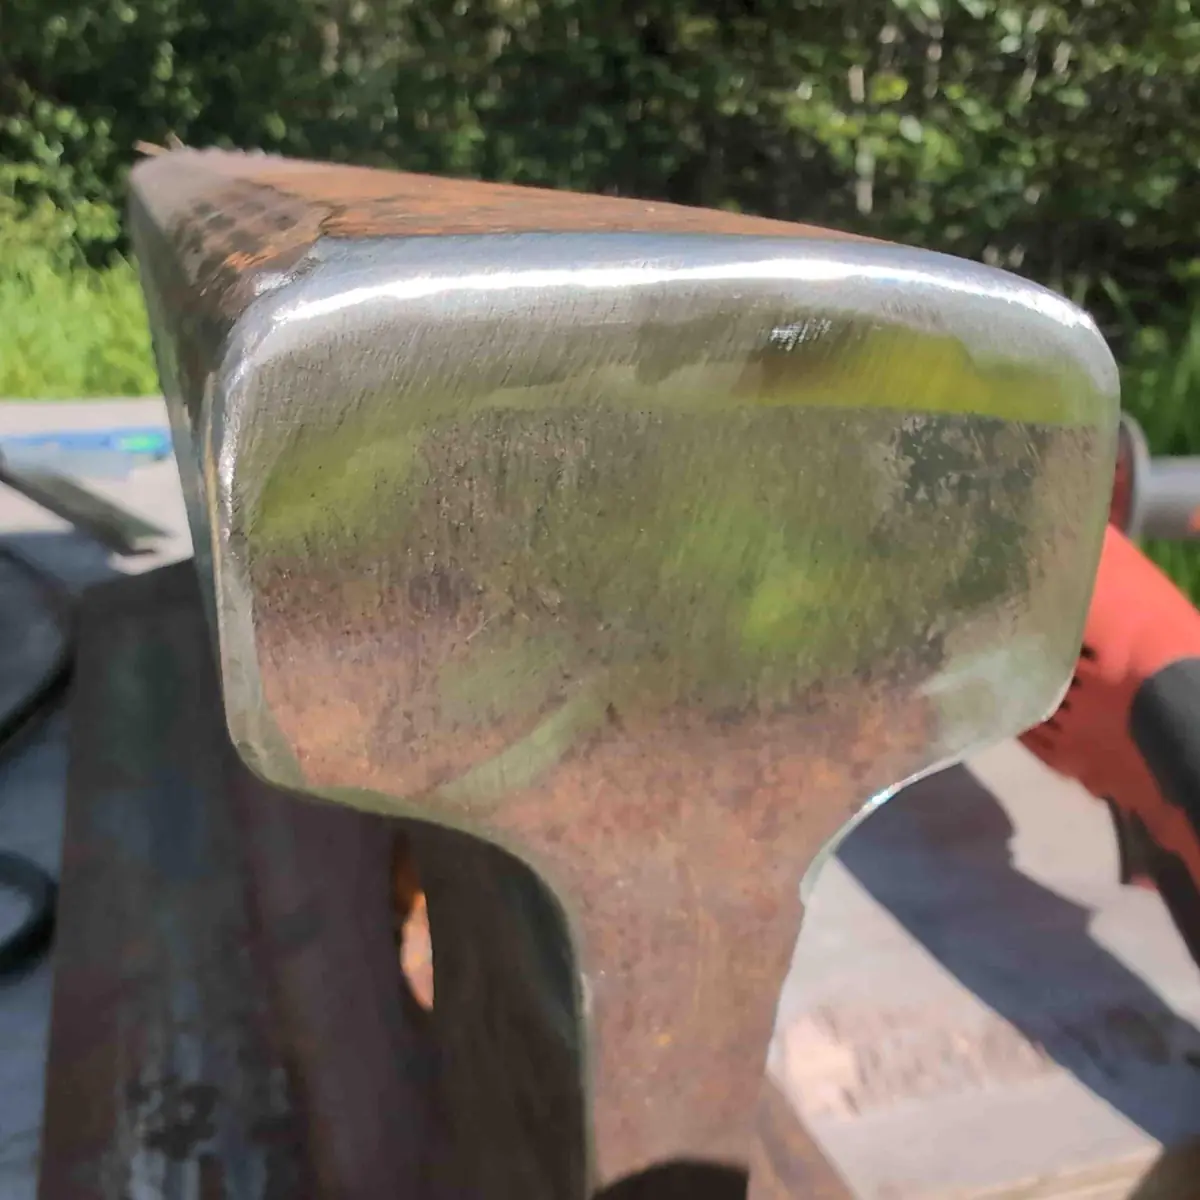
The process for grinding the fuller into the webbing of the track was pretty much identical to dressing the anvil. I went for a larger radius here and tried to vary it a bit along the length again. I used a cutoff disc to rough out the shape of the bick on the other side of the foot.
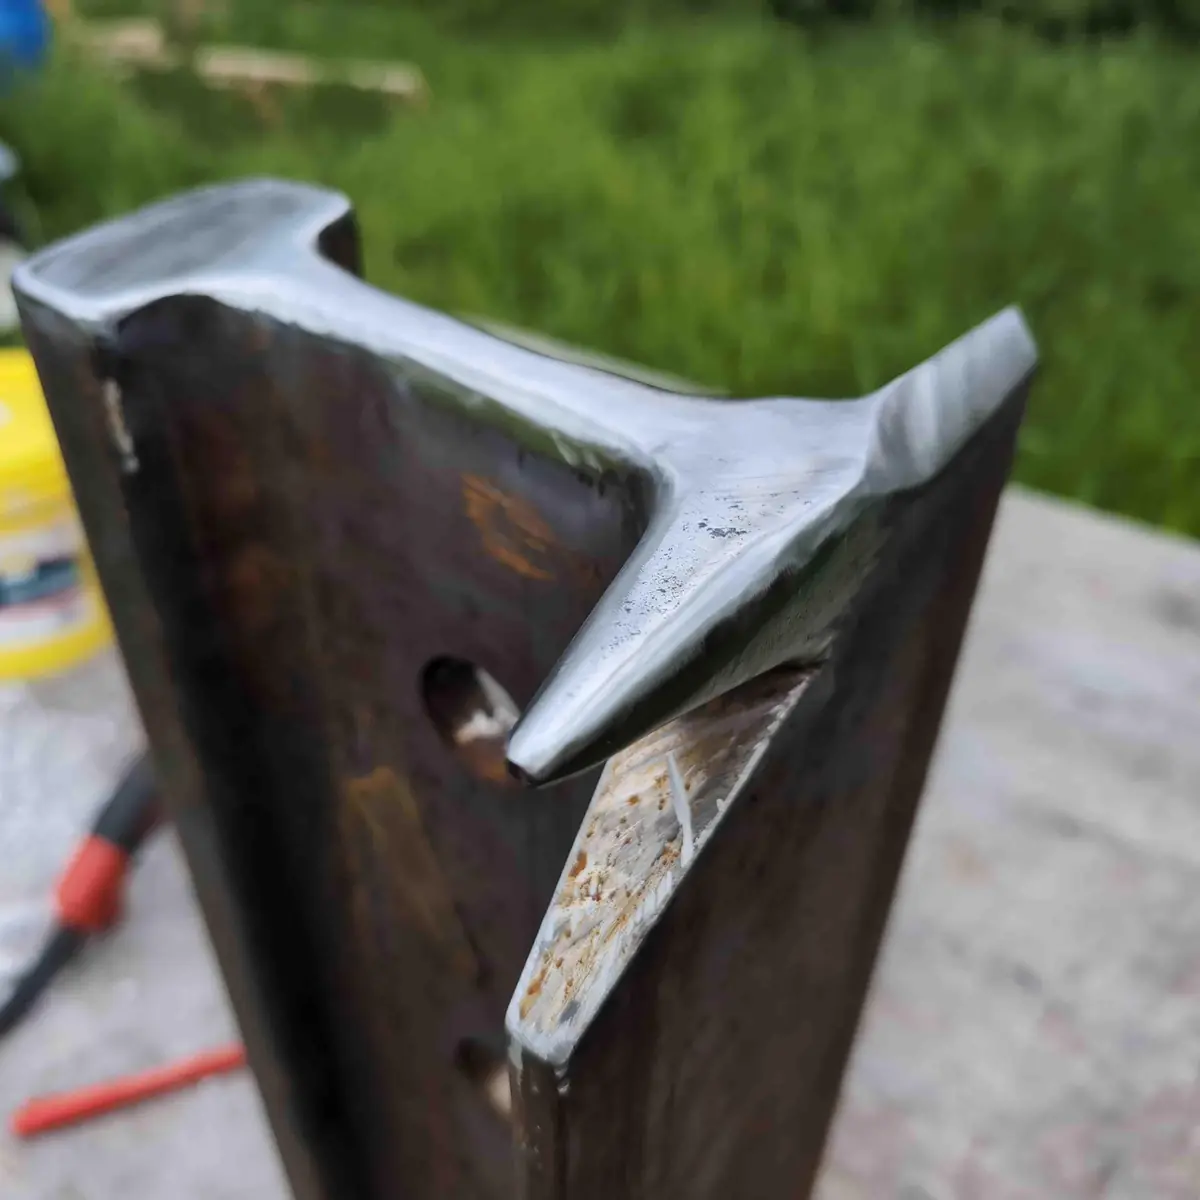
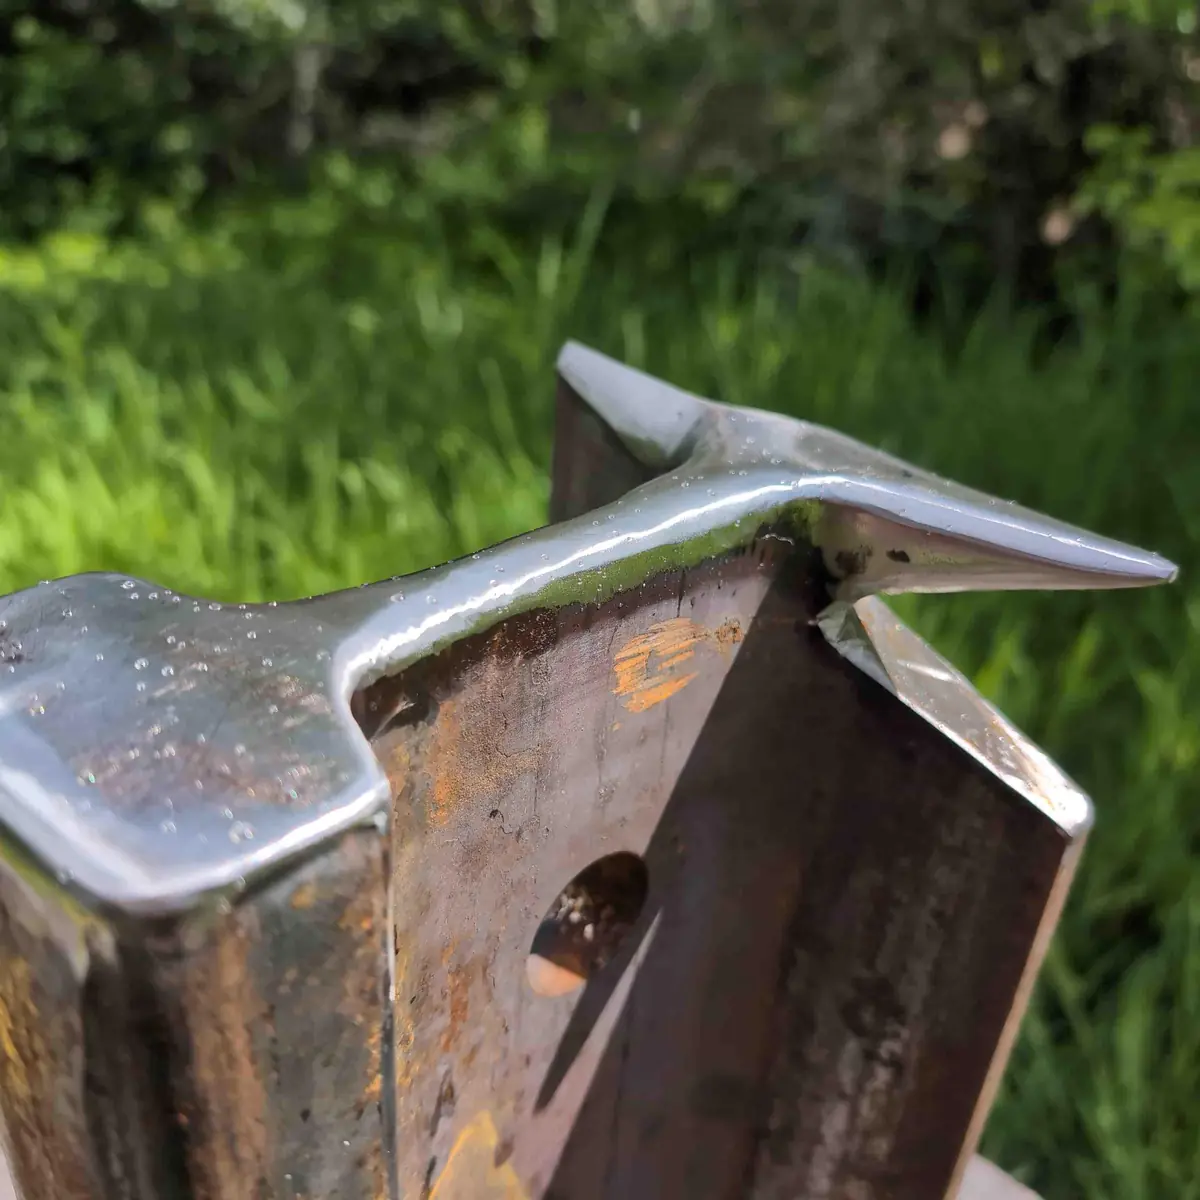
I finished shaping the bick using a combination of grinding discs and flap discs. I found it quite difficult to get a smooth radius that tapered all the way down the bick. Decided to call it good enough and gave it a quick polish with a stripping disc.
Finish Quality
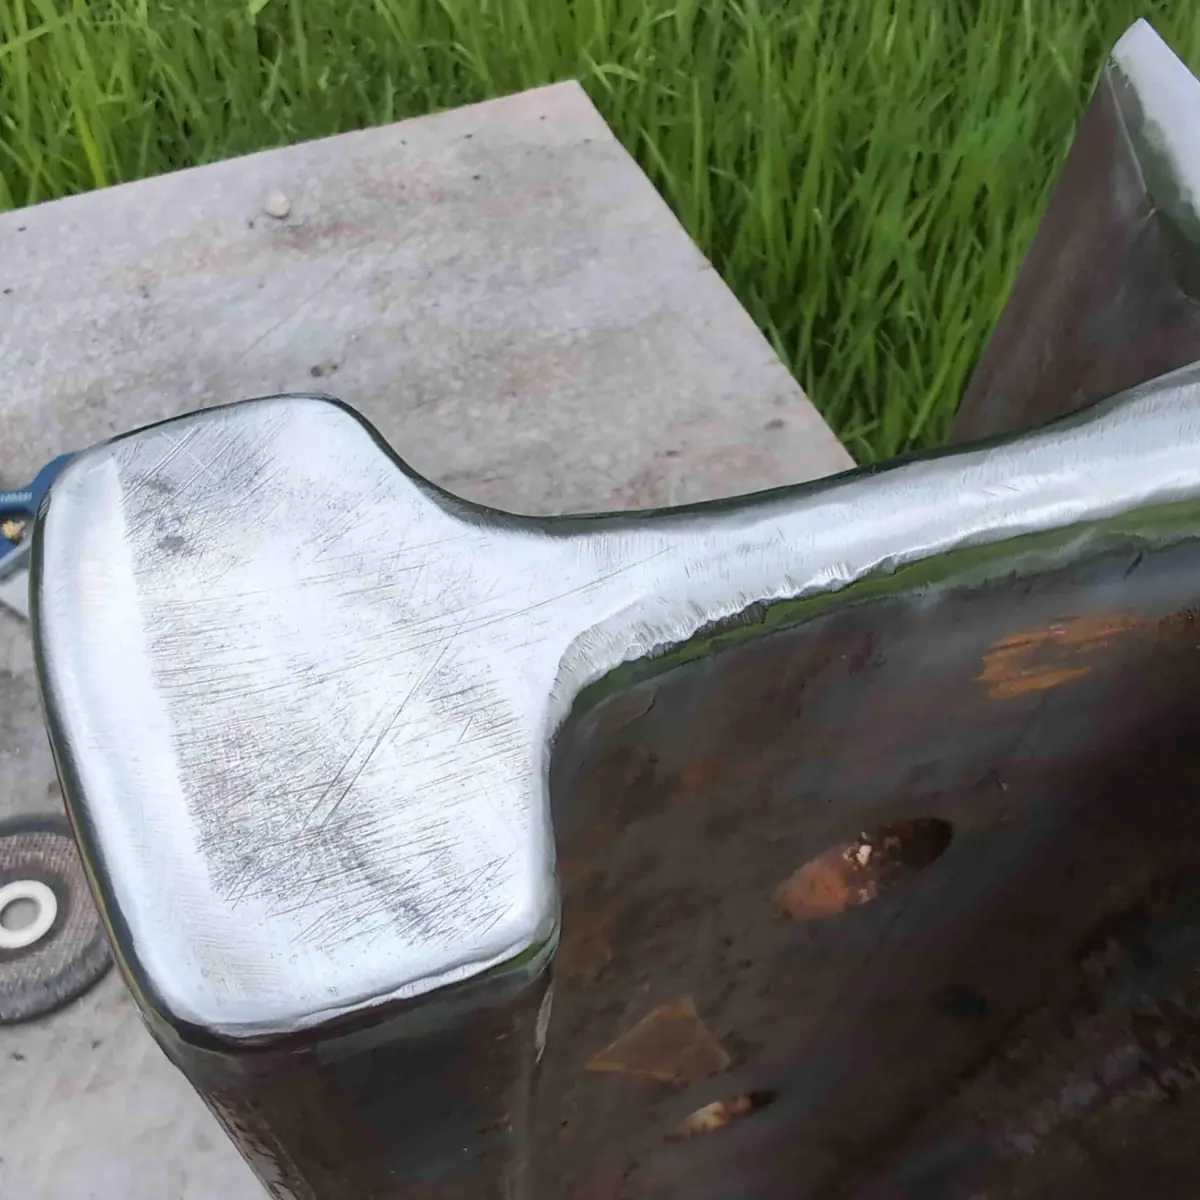
The finish could be much better, but like I said, its a learning anvil and will take a beating anyways. I figure I'll probably have to keep dressing the face as I ding it up.
I gave it a light heat with a torch and rubbed some linseed oil on for rust protection as it will live outside for now.
An Anvil Needs A Stand
I happened to also come into possession of a few rail ties. These are big heavy timbers impregnated with creosote for rot prevention. Should last quite awhile and add some much needed mass to the whole system.
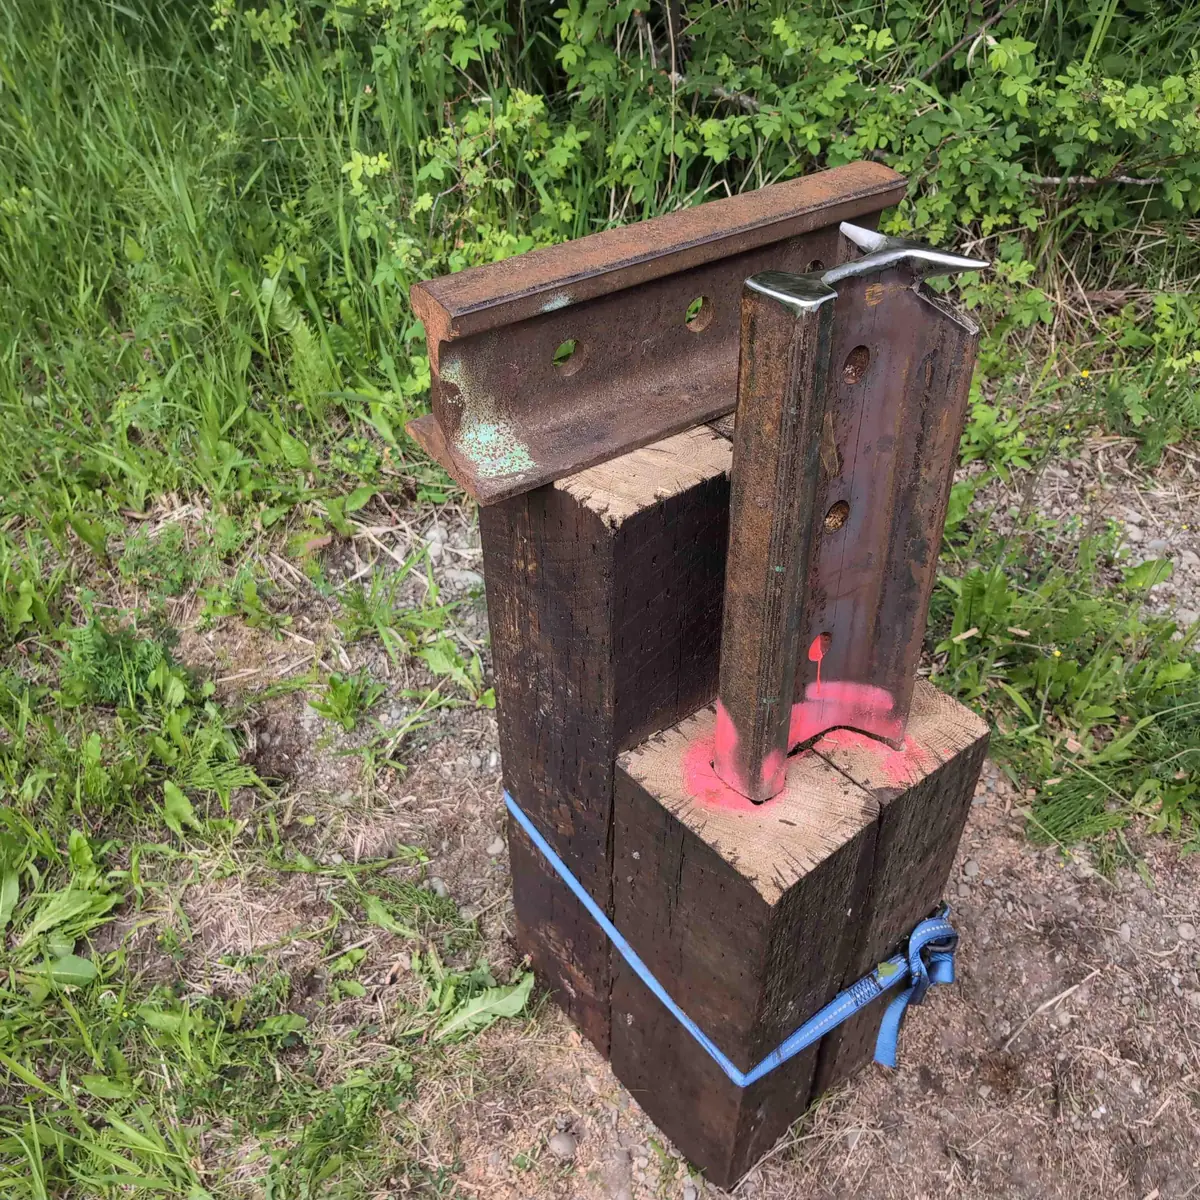
I wanted the striking face to end up at about wrist level, instead of the standard knuckle height, as I have a bad back. I plan on using a second piece of track horizontally with the foot mounted up as a larger surface area cutting and punching plate. This will also increase the mass of the system significantly. I cut the ties long enough that I can sink the stand into the ground a bit and have it end up at the correct height. I used some chain and turnbuckles to bind the 4 ties together tightly. I outlined the anvil on the stand using some pink spray paint so I could carve out a recess for it to sit in to.
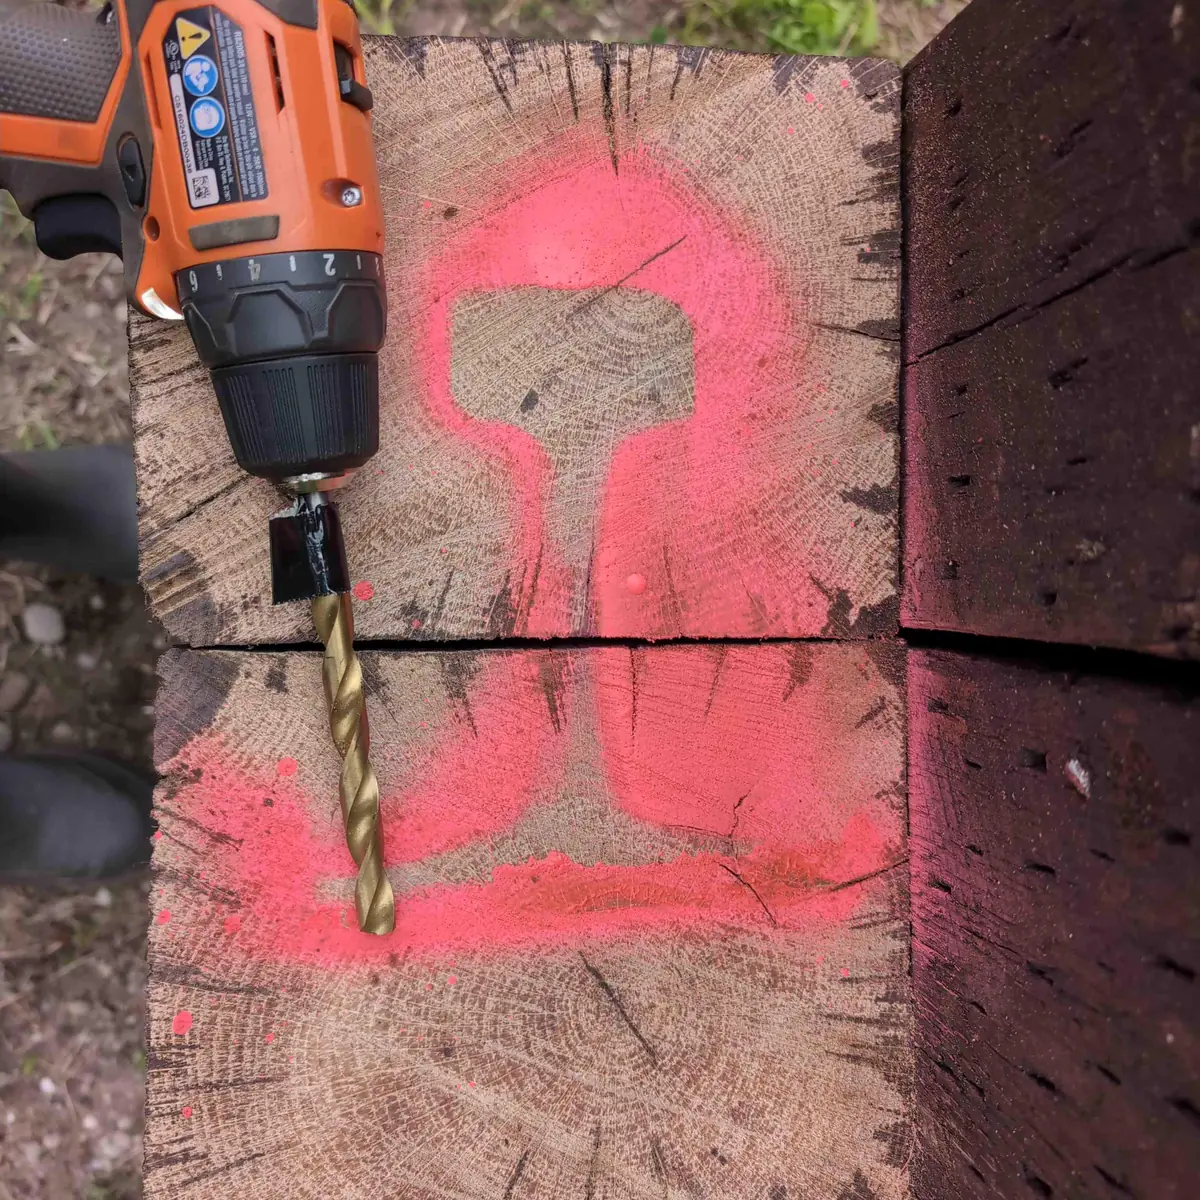
I knew how far I had to sink the anvil into the stand thru the magic of math so I used a bit of duct tape wrapped around a drill bit to serve as a depth stop.
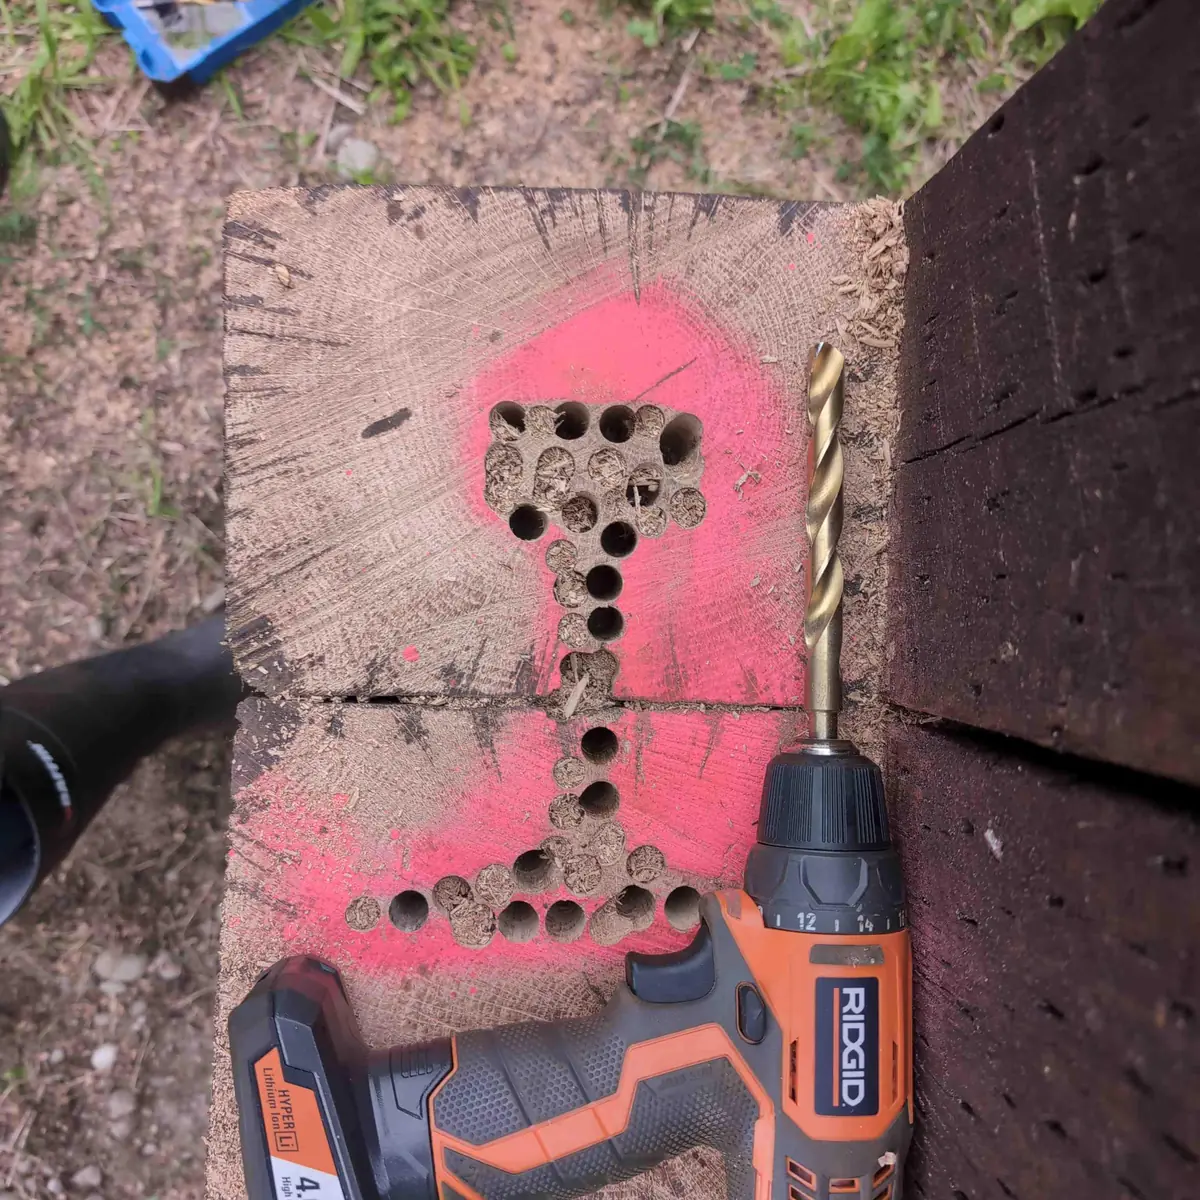
I hogged out most of the material from the outline using the biggest drill bit that would fit in my drill. Sorry to any trypophobes in the crowd!
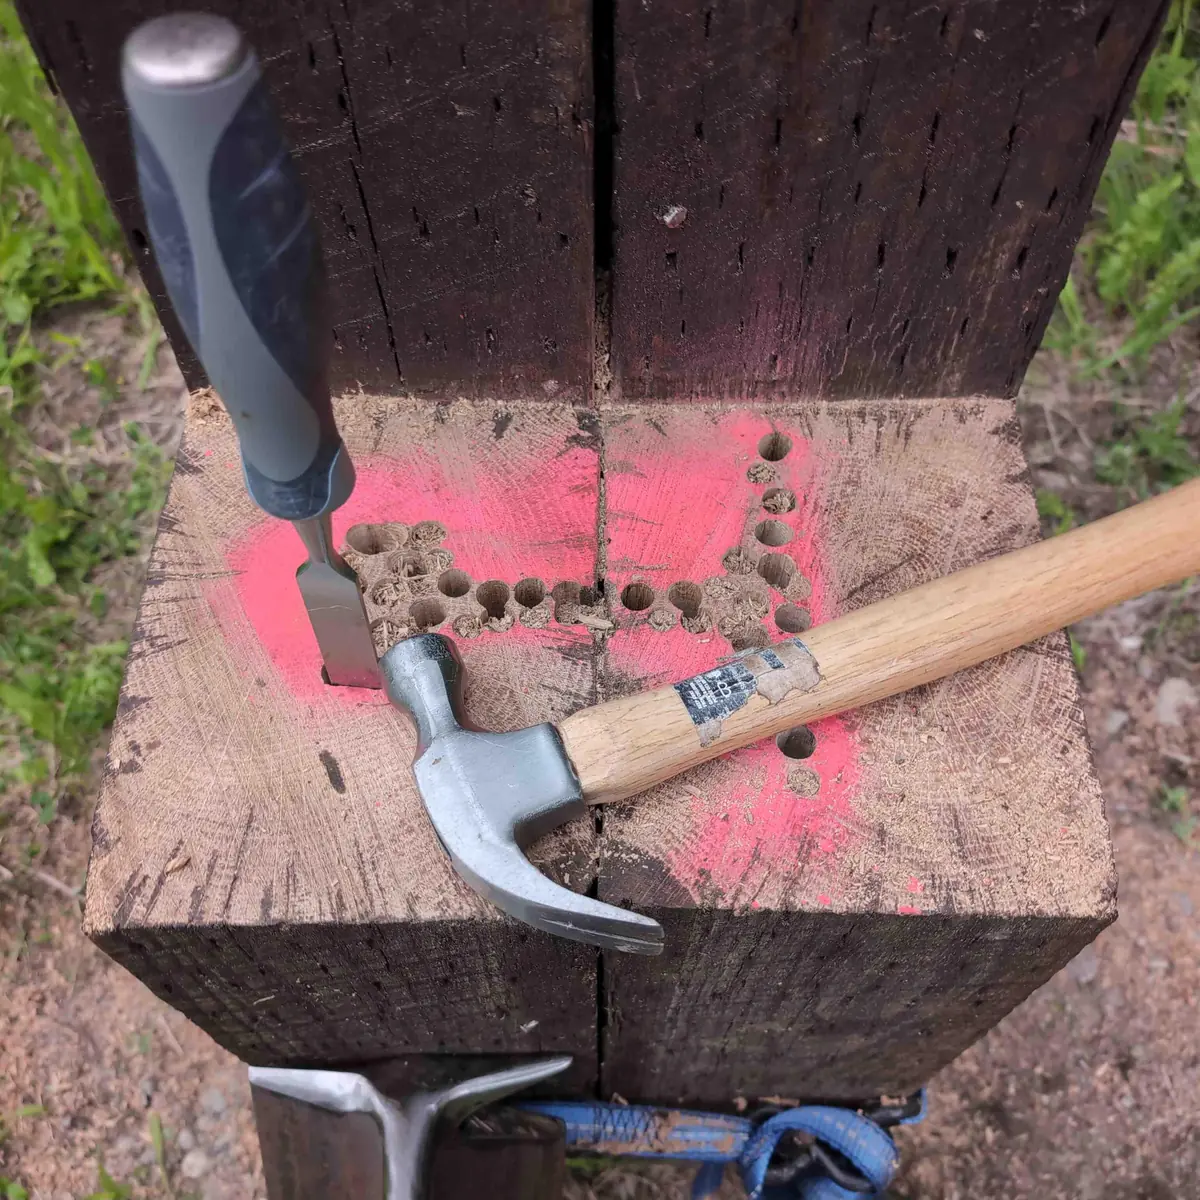
All that was left was to attack the remaining wood with a chisel and hammer. This was a super satisfying process as big chunks break out revealing the final recess.
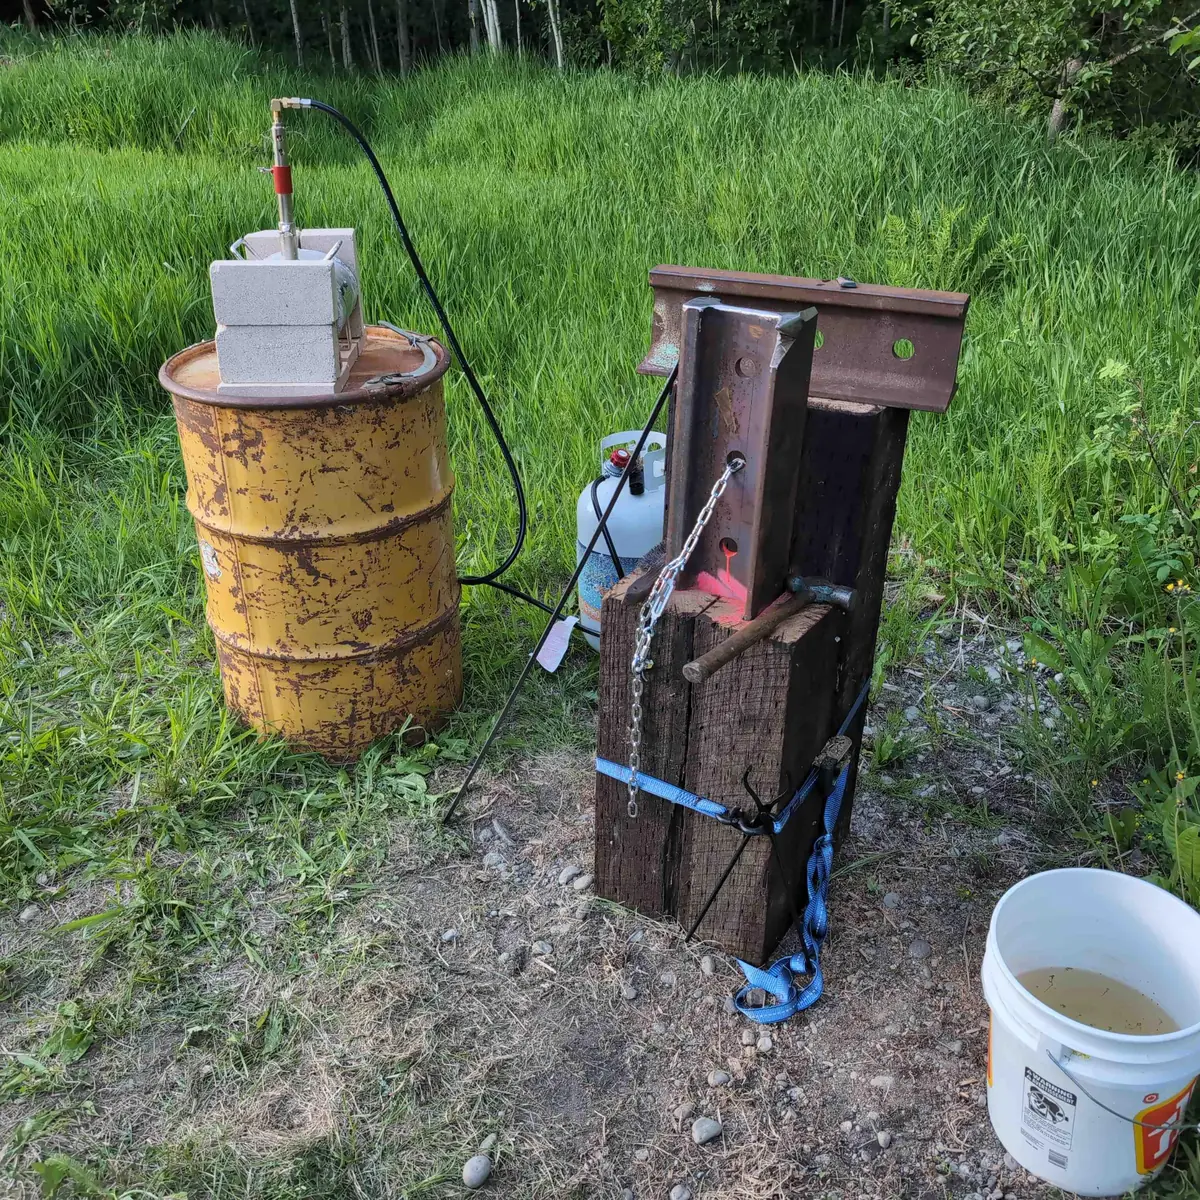
I dropped the anvil in place and gave it a couple whacks to seat it, then used another length of chain and a turnbuckle to strap it down nice and tight. All is set and ready for forging!
Future Plans
I still need to work on the second rail piece that will serve as my cutting plate. Once I decide on a hardy hole size, the first step will be to take it over to a friend with an oxy-acetylene torch to cut a square hole in it. Then I can give the surface of the foot a quick sand and polish and mount it next to the vertical anvil.